
How to Choose the Right Image Format for Stock Photos on Your Website
Choose JPEG, PNG, WebP, or AVIF for website stock photos. Get practical tips for sharper banners, transparent products, and faster blog pages.
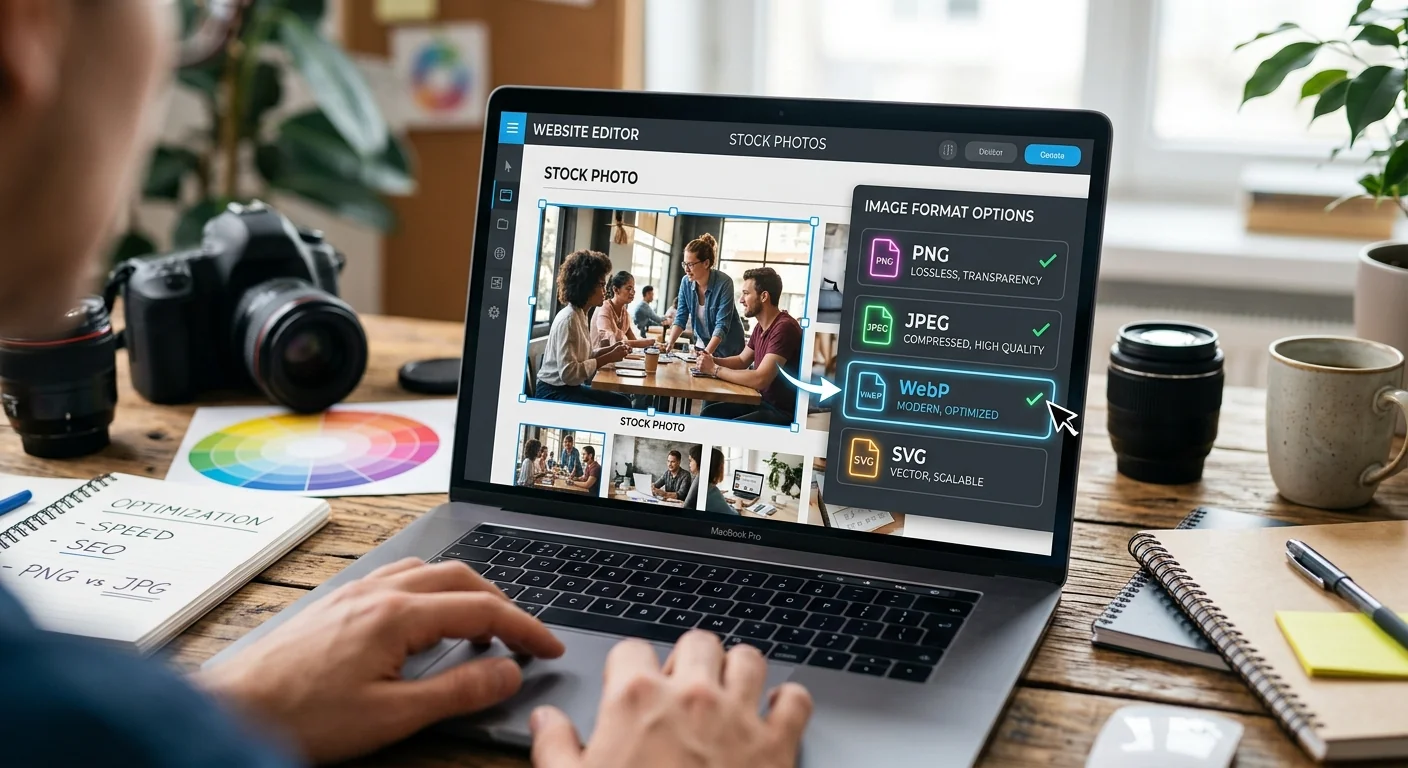
A beautiful stock photo can still make a website feel slow. That wide banner might look sharp on your laptop, yet take too long to appear on a visitor’s phone. A product cutout might load fast, but show an ugly white rectangle against your page background. The image itself is only part of the decision. Its format affects how it looks, how much data it carries, and where you can use it.
Choosing between JPEG, PNG, WebP, and AVIF gets easier once you know what the photo needs to do. Start with its placement, decide whether transparency matters, and compare a few exports at the size visitors will actually see. You do not need to become an image compression expert to make a sensible choice.
Three Choices That Shape the Result
- Try WebP or AVIF for photos when your website supports them.
- Use PNG when you need transparency and reliable lossless output.
- Resize each photo and check its appearance before publishing.
Start With the Photo’s Job on Your Page
A banner, a product photo, and a blog illustration have different demands. A banner takes up a large area and may be one of the first things a visitor sees. A product photo needs enough detail to support a purchase decision. A blog image often needs to communicate an idea without adding much weight to the page.
Transparency is another separate requirement. A lifestyle photo of people in a kitchen usually has a complete background. It gains nothing from a format’s ability to store transparent pixels. A background-removed image of a chair is different. It may need to sit cleanly against several page colors.
Before choosing an export format, settle these details:
- Placement: Identify whether the image is a banner, product view, thumbnail, or blog illustration.
- Display size: Check its expected width on desktop and mobile layouts.
- Background: Decide whether the image needs transparent areas.
- Detail: Note textures, faces, small lettering, or gradients that must remain clear.
These answers give you a useful starting point. They also prevent a common mistake: uploading the largest available download and expecting the website to handle every adjustment.
JPEG Keeps Ordinary Stock Photos Simple
JPEG, also written as JPG, is a familiar choice for photographs. The two extensions refer to the same format. It works across a broad range of browsers, website editors, and publishing tools, making it a dependable option when your workflow needs straightforward compatibility.
JPEG uses lossy compression. That means it removes some image information to reduce file size. At a sensible setting, the difference may be hard to notice at normal viewing size. Push compression too far, and faces can become patchy, detailed surfaces can blur, and sharp edges can develop visible artifacts.
Use JPEG for photos with a full background when your platform does not handle newer formats smoothly. It also makes a useful fallback when you serve WebP or AVIF through your website’s image system.
JPEG does not support transparency. If you export a transparent cutout as JPEG, the transparent area must become a solid background. That can be fine when you deliberately want a white product image. It becomes a problem when the same asset needs to sit on a colored section.
PNG Makes Sense When Clean Transparency Matters
PNG supports transparency and lossless compression. Lossless compression preserves the pixel information in the image being encoded. It does not repair an already damaged source, but it avoids adding the kind of compression loss associated with JPEG.
This makes PNG useful for background-removed stock assets, image composites, and graphics containing crisp lettering. A transparent object can sit against your website’s background without a rectangular frame around it.
The tradeoff is file size. Detailed photographs often produce large PNG files. Saving a full-width landscape as PNG simply because it looks sharp in your editor can add unnecessary weight to the page.
Choose PNG when its transparency or exact pixel preservation serves a clear purpose. For an ordinary photograph with no transparent areas, compare JPEG, WebP, or AVIF first. A transparent photo can also work in WebP or AVIF, provided your tools preserve the transparency correctly.
WebP Offers a Useful Starting Point for Web Photos
WebP supports both lossy and lossless compression, along with transparency. That flexibility makes it useful across many website image tasks. You can use a lossy export for a lifestyle photo and a transparent export for an isolated object.
The image format guide documents WebP’s compression options and transparency support. Those features make it worth testing when you want smaller photo files while keeping the option of a transparent background.
For many small-business websites, WebP is a sensible first export to try. Compare it with a JPEG at a similar visible quality level. Keep whichever provides the better result for that image and your publishing setup.
Do not assume a format change guarantees a smaller file. The source image, export settings, and encoder all affect the outcome. A poorly chosen WebP export can still be larger than a carefully compressed JPEG.
AVIF Is Worth Testing for Large Photographic Images
AVIF is another option for compressed photographs. It supports transparency and can produce compact files with good visual quality. Large banners and image-heavy pages are useful places to test whether it offers a worthwhile saving.
Results vary by image. A soft studio background may compress differently from a forest filled with leaves. Fine textures can also look different at aggressive settings. Compare the actual exports instead of assuming AVIF will win every time.
Check your website editor, image plugins, and delivery service before committing to AVIF. A browser may support a format while an upload tool or thumbnail generator still has trouble processing it. If your platform provides format selection and fallbacks automatically, let that system handle delivery after you verify the output.
For a manual setup, a developer can use the HTML picture element to offer AVIF, then WebP, with a JPEG fallback. The browser selects a supported source. Each version still needs appropriate dimensions and a visual check.
Build Format Conversion Into Your Editing Workflow
Start from the highest-quality original you have permission to use. Keep that original separate from your website exports. Repeatedly editing and saving compressed copies can accumulate damage, making later versions harder to judge.
Crop the photo for its placement before exporting. A banner may need a wide composition with space for a headline. A product card may need a tighter crop. Then resize it to suit the intended display size, including any larger version needed for sharper screens.
If your source is a JPEG, converting from JPG to WebP or AVIF fits naturally after cropping and resizing. Make a trial export, inspect its visual quality, and test the final image on the page. Converting to PNG will not restore details already lost in the JPEG, and changing formats will not remove its background.
Quality sliders are not interchangeable across formats or tools. A setting of 80 in one exporter may produce a different result from 80 elsewhere. Use the slider to create candidates, then make the decision with your eyes and the resulting file sizes.
Compare images at their intended display size before zooming in. Visitors rarely inspect every pixel. Still, a closer check can reveal issues around faces, product edges, or lettering that deserve attention.
Choose Banner Formats Around Size and Composition
Banners often deserve the most careful optimization because they occupy a large portion of the first screen. Try WebP and AVIF for a photographic banner, then compare them with a JPEG fallback.
Dimensions matter as much as format. A 5,000-pixel-wide stock download may be unnecessary for a banner displayed much smaller. Yet exporting only a narrow version can look soft on a large, sharp screen. Use your site’s responsive image features to deliver suitable sizes to different devices.
Check the mobile crop too. A photo that leaves room for text on desktop may put a face directly behind the headline on a phone. Format selection cannot fix a poor crop or unreadable text.
A banner visible immediately should generally load without waiting for the visitor to scroll. Reserve lazy loading for suitable images farther down the page. Test the page under a slower connection to see whether the main visual appears promptly.
Keep Product Photos Clear Without Oversized Files
Product pages need clarity where shoppers look for evidence. Fabric texture, surface finish, and small details can matter more than a tiny reduction in file size. Use compression carefully around those areas.
For product photos with complete backgrounds, test WebP or AVIF alongside JPEG. For cutouts, compare transparent WebP with PNG. Include AVIF if your publishing system handles transparent versions reliably.
Inspect transparent edges against the actual page background. Hair, glass, shadows, and soft edges can reveal pale outlines that were invisible against your editor’s white canvas. A smaller file is not a good trade if the product appears poorly cut out.
Separate thumbnails from larger gallery views. A small product card should not require the same download as a zoom image. Your website may generate these versions automatically, but confirm that the page serves the appropriate one.
Let Blog Images Support Reading Without Slowing It
Blog posts often contain several photographs. Their combined size matters, even if each file seems manageable alone. WebP is a useful starting point, with AVIF worth testing when available. JPEG remains reasonable when it fits your publishing tools better.
Resize inline photos to match the content column. A modest illustration does not need the same dimensions as a full-width banner. For photographs containing baked-in text, check that compression leaves the lettering readable. Put headings and captions in HTML whenever possible so they stay readable and accessible.
Images farther down a long article can usually load lazily. Include image dimensions in your website’s markup or publishing settings so the browser can reserve space before each image appears. This helps keep paragraphs from shifting during reading.
Check the Published Page Before Calling It Finished
Your exported file is only one part of the result. A content management system may recompress it, create alternate sizes, or serve a different format. Review what visitors actually receive.
- Inspect the layout: Check the crop, sharpness, and text readability on desktop and mobile.
- Check transparency: Look for unwanted backgrounds or halos around cutout edges.
- Review delivery: Confirm that the page serves the intended dimensions and format.
- Test loading: Use browser developer tools to inspect transferred file sizes under a slower connection.
Keep a simple record of the winning export for each placement. Note its dimensions, format, and quality setting. That gives your team a repeatable starting point for future images without turning every upload into a fresh experiment.
Give Every Photo a Format That Fits
You do not need one format for your entire website. A banner may work best as AVIF, a blog photo as WebP, a transparent asset as PNG, and a compatibility fallback as JPEG.
Choose based on the image’s job. Resize it, compare a few sensible exports, and inspect the final page. The right format keeps the details visitors need while avoiding data they never benefit from downloading. That is a practical way to make your stock photos look good and help your website feel faster.
Apply this guide with image tools and collections
Browse the stock image categories or use the AI image tools to put this guidance into practice.
Find your image